Setting Up a Development Environment
Creating Your BluePepper Instance
-
Create a new repository on your personal or on your organization's GitHub page (for example,
bluepepper_myProject).For confidentiality purposes, you should create a private repository. Only make it public if you know what you are doing.
-
Clone the repository.
-
Dowload the source code from the repository
- Unzip it to your empty git folder.
What is the purpose of a separate Git Repository?
This will make it easier to edit the configuration and deploy it to your team later. For more information, see Deploying BluePepper
Installation
- Run
install_dev.bat. - You can now open the app using the newly created BluePepper shortcut.
Why are there two installation scripts?
You may have noticed bluepepper's directory contains an install_dev.bat file and an install_enduser.bat.
The first initializes the repository in a way that prevents the update callback from triggering. This way, you can do your own thing without BluePepper scraping all your changes at launch.
How does the installation actually work?
The installation uses UV to install the Python virtual environments and the Python packages needed by BluePepper.
The configuration files that drive the installation are located in conf/requirements  , with each file representing a separate virtual environment and containing the list of Python packages to install.
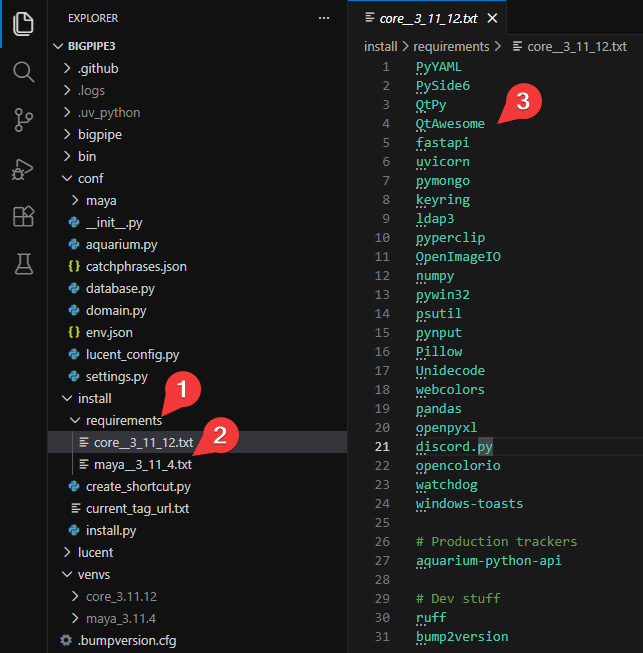
For each file, a new virtual environment is created in the folder venvs .
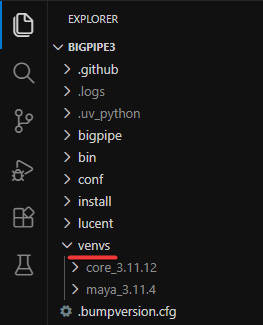
Why multiple virtual environments?
All the software used on your project won't use the same version of Python, which can cause compatibility issues. Since all software will at the very least need access to the Database and the Codex, each environment needs a dedicated Python environment where pymongo and lucent are installed.
Running BluePepper Like a Dev
Opening BluePepper GUI
Once the python interpreter is configured, you can run BluePepper from your terminal by executing main.py  .
.
Running a Script
Tip
Git is configured to ignore all files named sandbox.py . If you need to test some code, just create a sandbox.py file and run it.
-
Let's try to execute this piece of code:
Bug
This will not work because BluePepper needs to setup a few environment variables first.
Traceback (most recent call last): File "d:\gitWorkspace\BP_PROJECT_DEV\bluepepper\sandbox.py", line 1, in <module> from bluepepper.core import codex File "d:\gitWorkspace\BP_PROJECT_DEV\bluepepper\bluepepper\core.py", line 5, in <module> from bluepepper.database import database File "d:\gitWorkspace\BP_PROJECT_DEV\bluepepper\bluepepper\database.py", line 18, in <module> from conf.naming_conventions import codex File "d:\gitWorkspace\BP_PROJECT_DEV\bluepepper\conf\naming_conventions.py", line 10, in <module> root_dir = Path(os.environ["BLUEPEPPER_ROOT"]) ~~~~~~~~~~^^^^^^^^^^^^^^^^^^^ File "<frozen os>", line 679, in __getitem__ KeyError: 'BLUEPEPPER_ROOT' -
To open a new terminal with the proper environment variables, run the following command:
Then run your code. It should work just fine

Visual Studio Code Configuration (Optional)
Extensions
Here are the recommended extensions for VSCode
- python
- powershell
- ruff
- Biome (if you plan doing some JavaScript)
Python Interpreter
-
Press
Ctrl+Shift+P->Python: Select Interpreter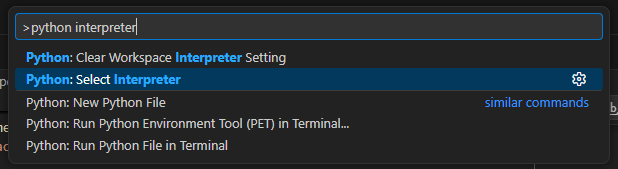
-
Enter Interpreter → Find…
-
Select the
python.exefile from thecorevirtual environment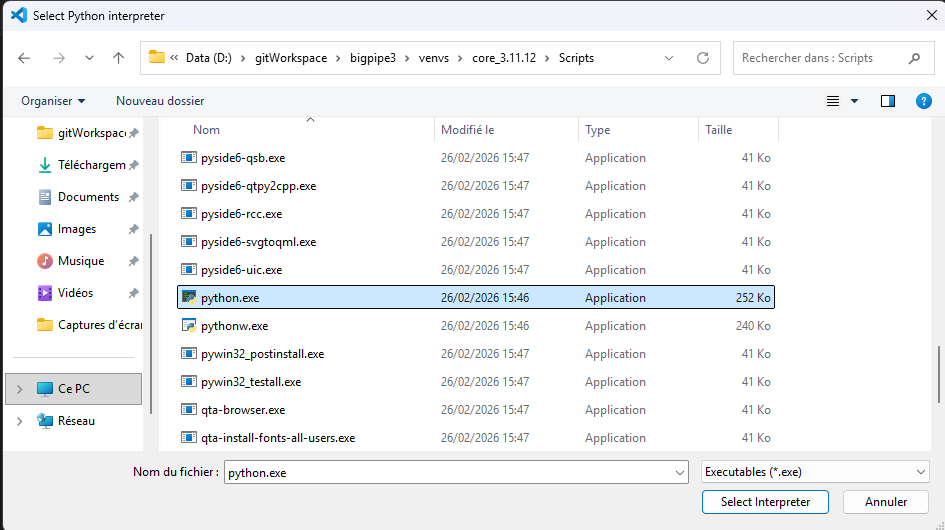 - It is now advised to close the terminals and restart VSCode so Pylance can update using the new Python interpreter.
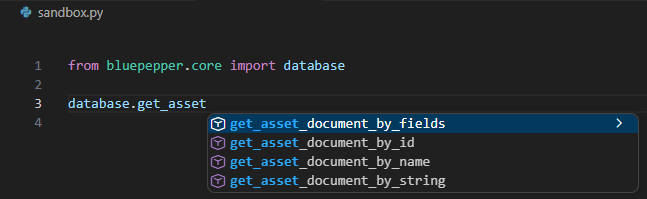
From now on, syntax highlighting and autocompletion should work like a charm.